Turn your screenshot into a photograph.
StudioIA turns a screenshot of your model into a realistic image, placing the textures and furniture you specified in your project without changing its perspective, light, or materials, in a single AI pass.
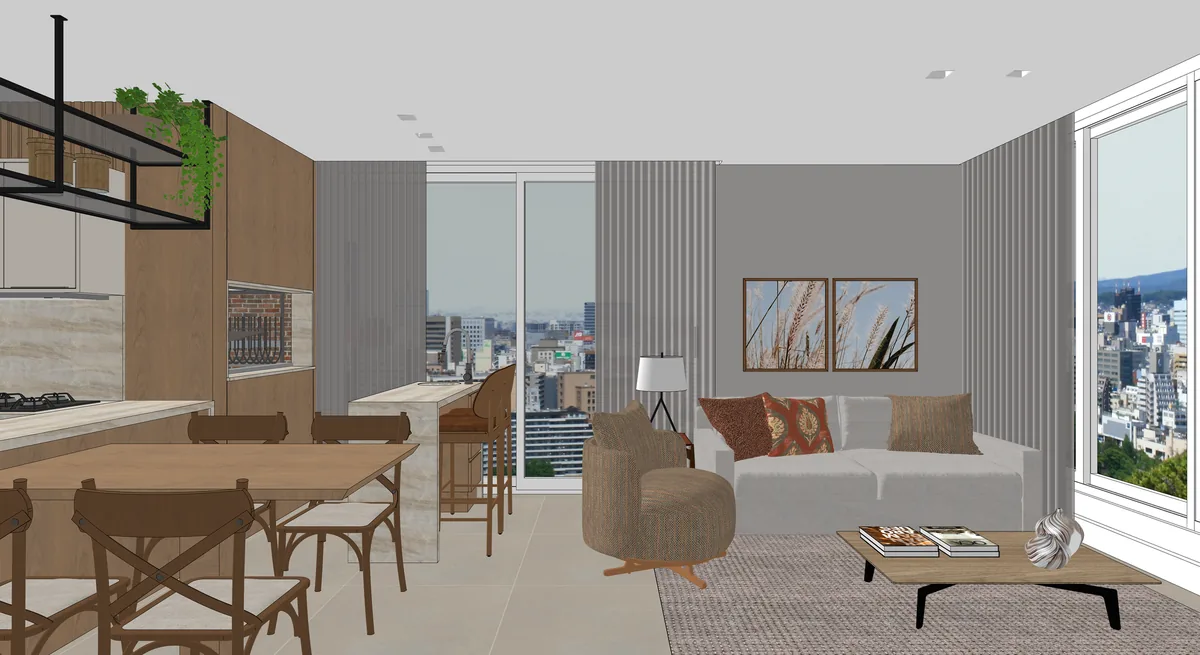
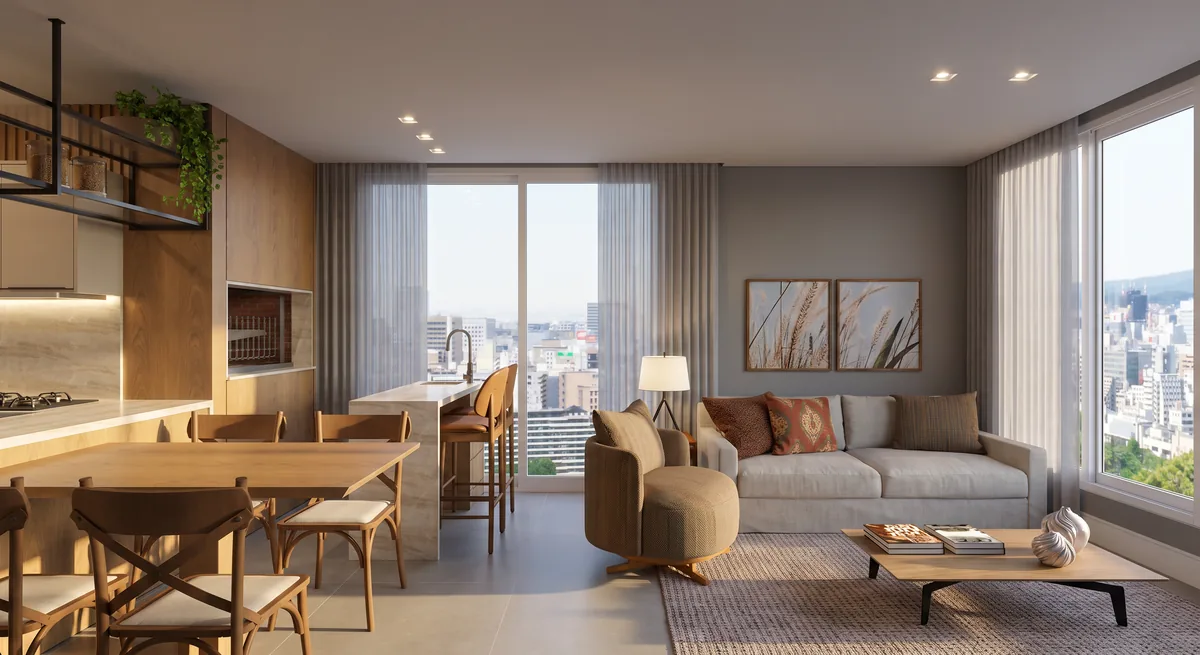
- Output
- Up to 4K
- Perspective
- True to your screenshot
- Folders
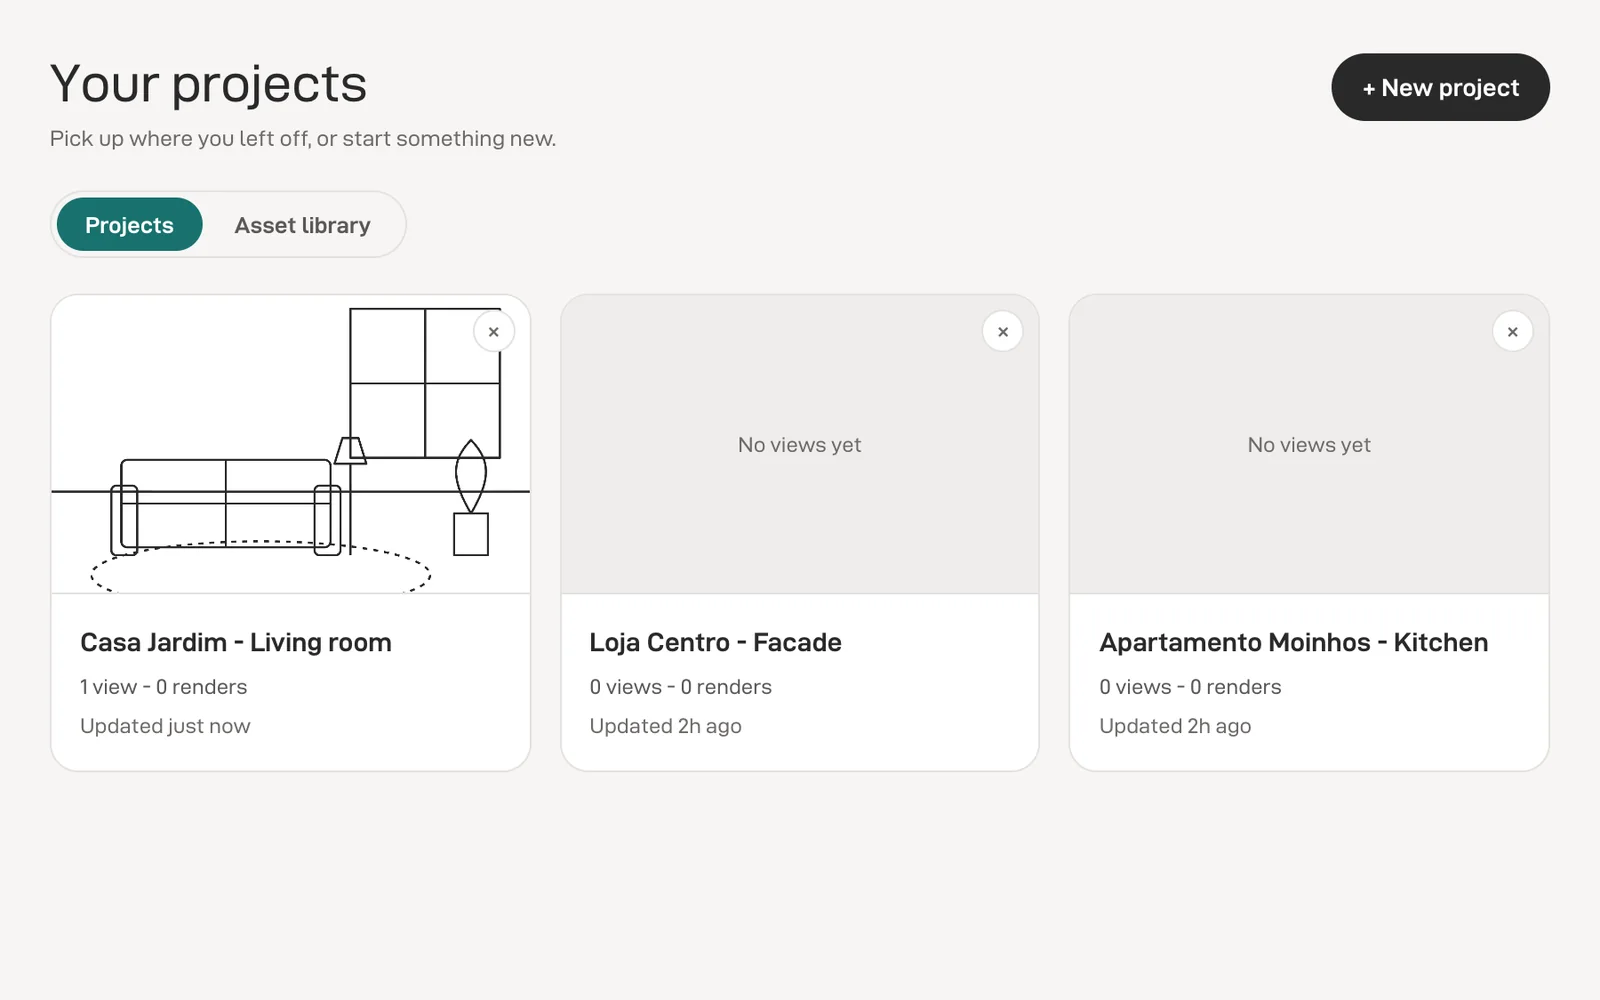
- Organized by project
The product
From a screenshot of your model to a photograph: organize your projects in folders, mask the regions, assign real products from your library, set the scene, and render. No surprises.
Capabilities
-
Mask-driven placement
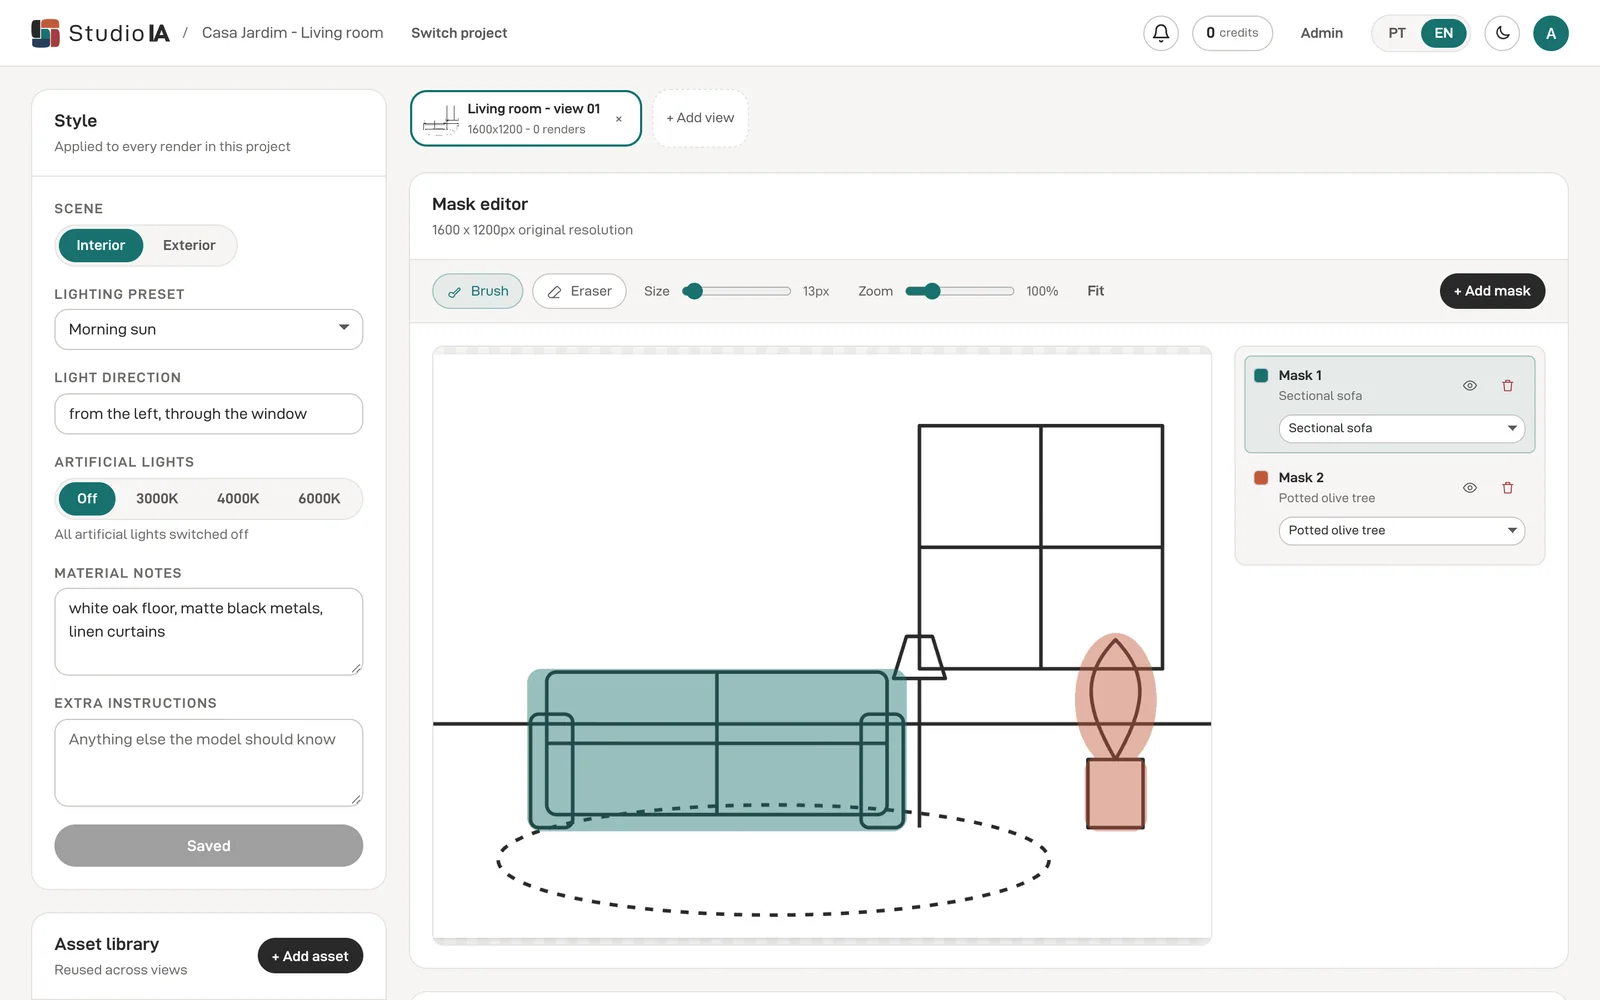
Paint a region, assign a real product from your library, and StudioIA places that exact item, matching perspective and light.
-
Photoreal in one call
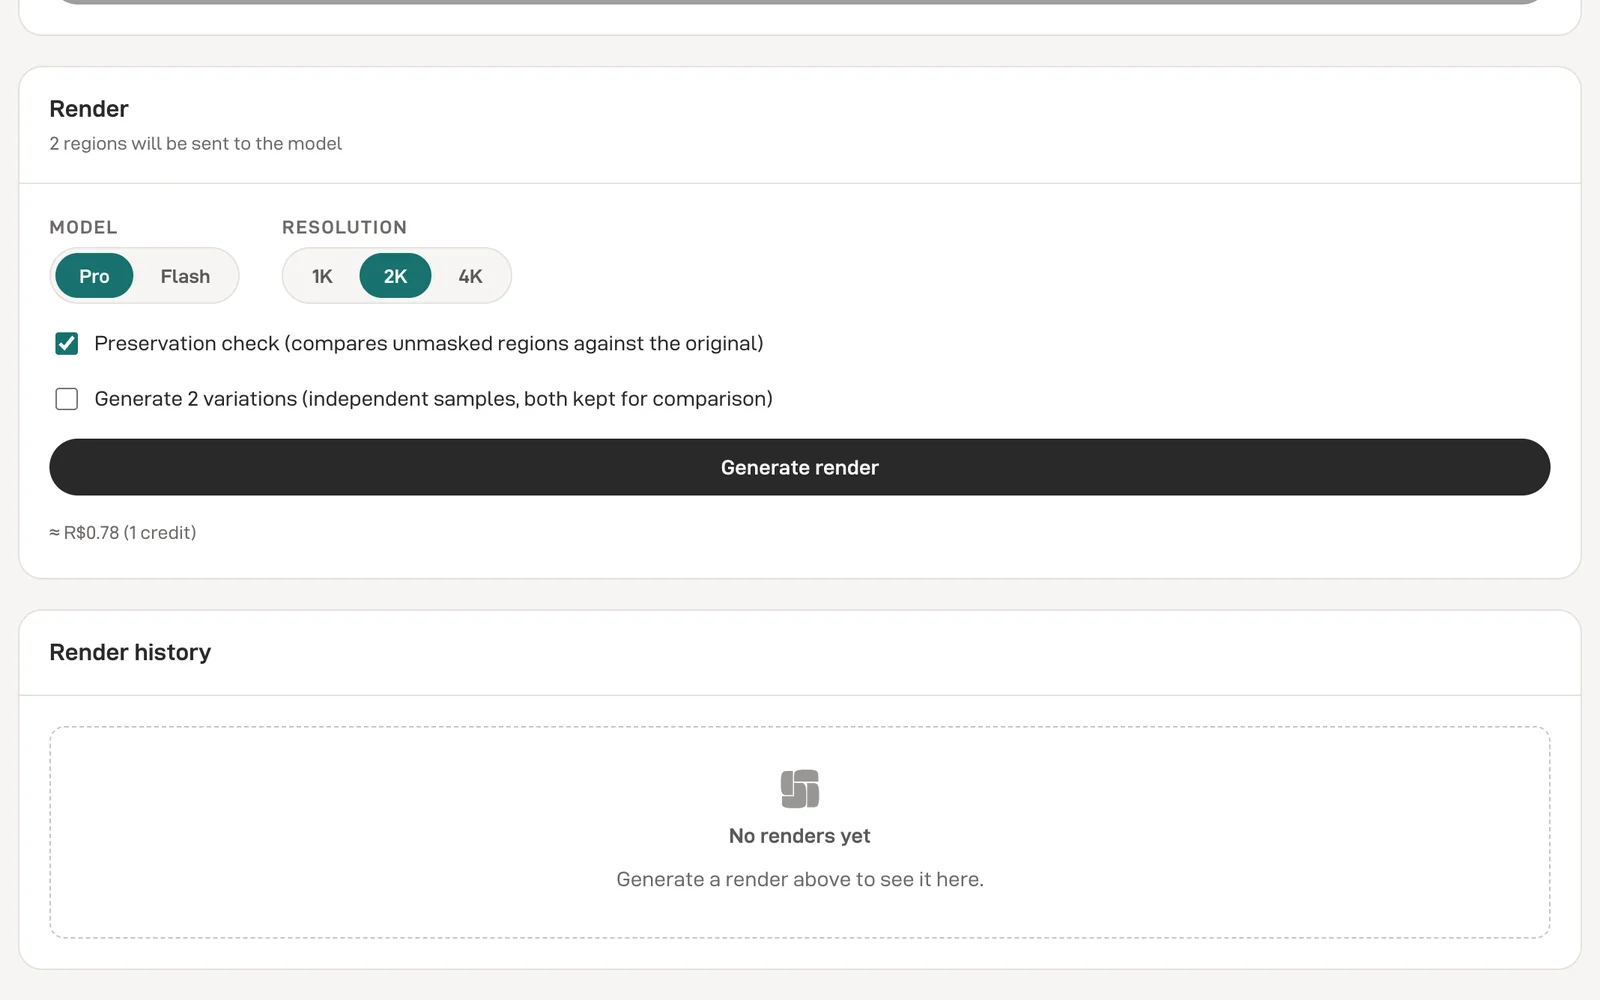
A high-fidelity model that renders at up to 4K.
-
Multi-angle consistency
Pin any render as a style anchor so every other view of the space stays coherent and on-brand across angles.
-
Preservation checks
You help us improve by rating your renders, which keeps the images we generate consistently faithful.
-
Metrics
A summary of each render's key details: resolution, masked regions, style anchor images, and render time, all in one place.
-
Private to your account
Your screenshots, product library, and renders are tied to your account and never shown to other users.
How it works
-
01
Upload a screenshot
Drop in a screenshot of any view of your 3D model.
-
02
Mask & assign
Paint the regions to replace and assign each one a product or texture from your library.
-
03
Set the scene
Choose scene, lighting, and materials, for interiors or exteriors.
-
04
Render
Get an image of your project at up to 4K from a single screenshot, with no surprises.
Contact
- Built on
- A screenshot of your project
- Rendering
- Photoreal, up to 4K
- Runs
- In your browser
Questions, a demo request, or feedback? Leave your email and a note. We read every message.