Facade rendering with AI.
Turn a screenshot of the facade in your 3D model into a photoreal image, with the cladding and window frames you specified and the daylight you choose.
- Output
- Up to 4K
- Perspective
- True to your screenshot
- Folders
- Organized by project
From model to finished facade
-
01
Upload the screenshot
A capture of the facade or any exterior view of your 3D model.
-
02
Specify the materials
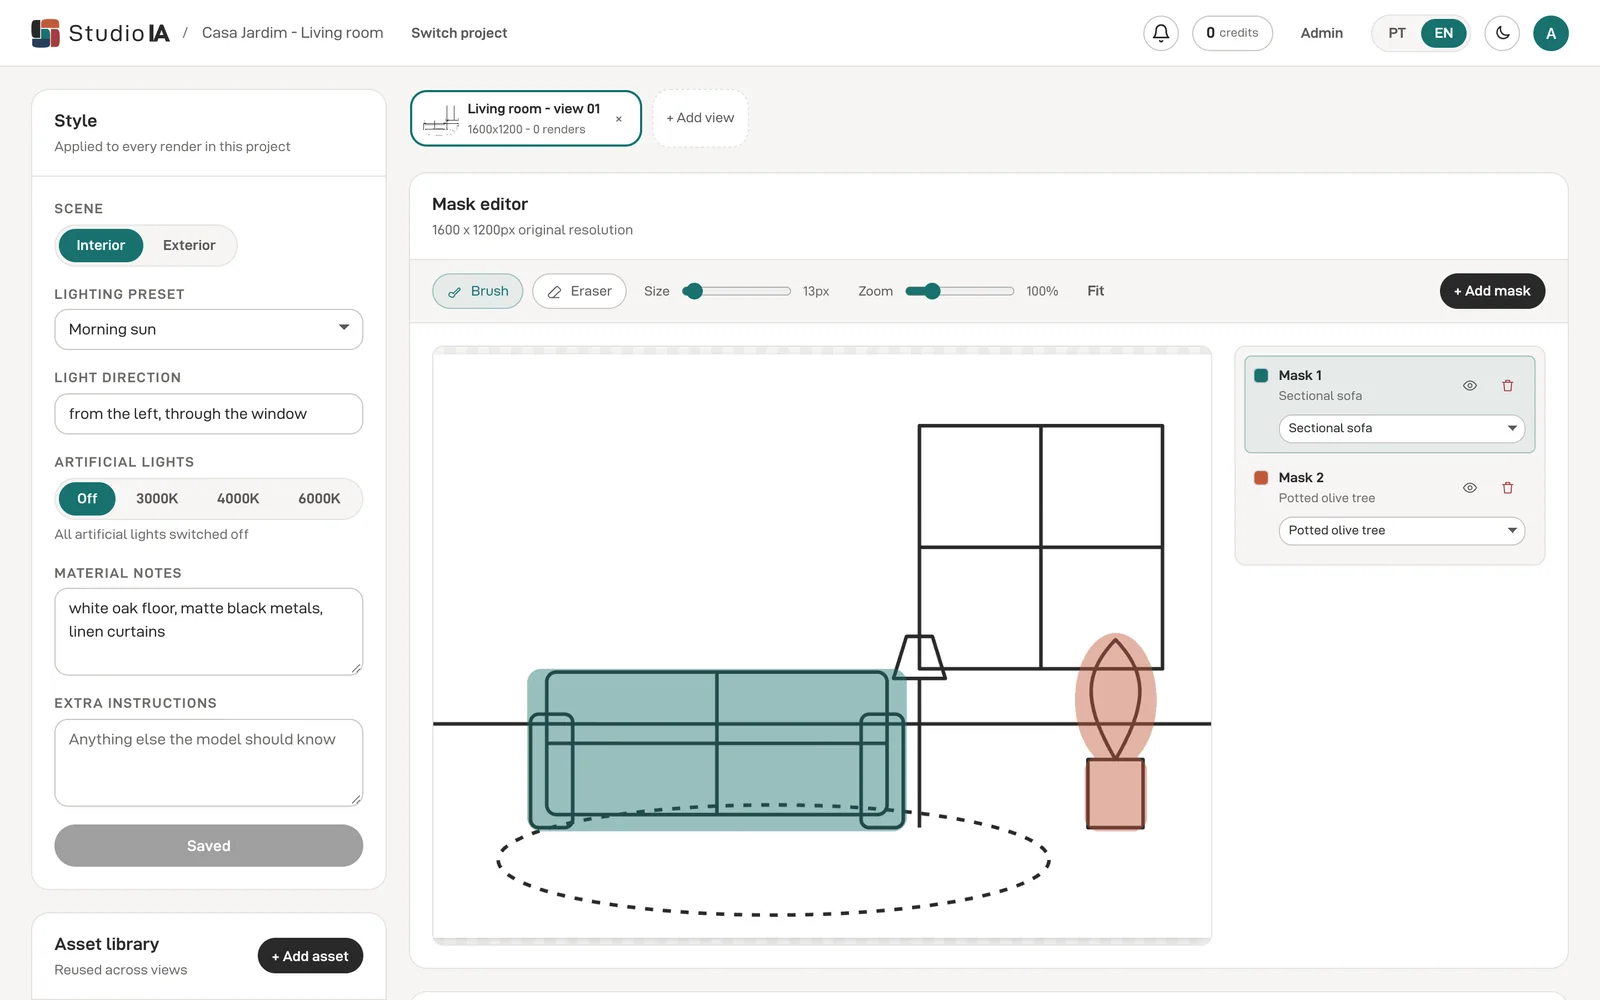
Paint the cladding, the window frames or the landscaping and assign each region a real product from your library.
-
03
Choose the time of day
Morning sun, midday, overcast, afternoon sun, late afternoon or night, and the light's direction.
-
04
Render
Get the image at up to 4K, ready for the presentation or the sales material.
Made for facades
-
The right cladding
Assign the specified stone, wood or panel to each region, from its reference photo.
-
Light that shows the project
Compare the same facade at different times of day and pick the one that presents the project best.
-
Massing preserved
StudioIA follows the screenshot's edges, so volumes, openings and proportions stay as you modeled them.
Facade questions
Can I include the surroundings and landscaping?
Yes. The render starts from what's in the screenshot, and you can describe the planting, the sky and the surroundings in the material notes or the extra instructions.
Can I show the facade at night?
Yes. Choose the Night preset, or compare the same view in morning and late afternoon light.
Do the facade's views stay consistent?
Set a render as the style anchor: the project's other views follow the same materials, tones and light.