Revit and Archicad rendering with AI.
StudioIA starts from an image, not from the model file. A 3D view from Revit, Archicad, Rhino or 3ds Max becomes a photoreal image, with the products you specified.
- Output
- Up to 4K
- Perspective
- True to your screenshot
- Folders
- Organized by project
From 3D view to photograph
-
01
Capture the view
Open the 3D view or perspective in your software and export it as an image, or take a screenshot.
-
02
Mark the products
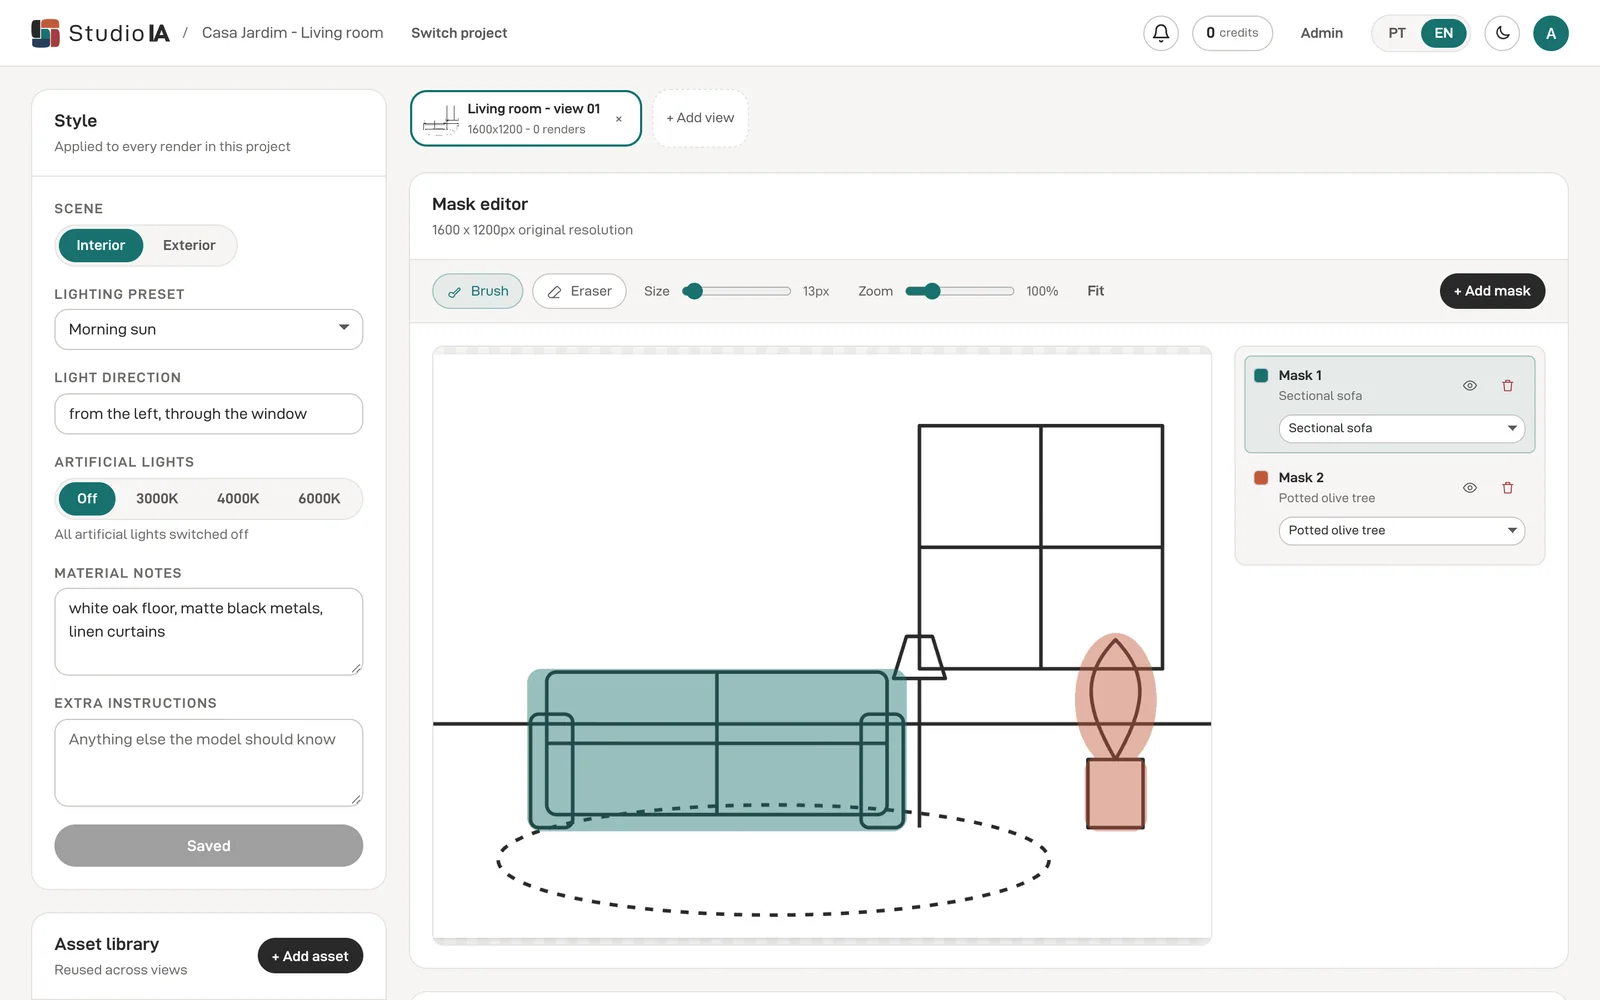
Paint regions of the image and assign each a real product from your library, with a reference photo.
-
03
Set the scene
Choose the lighting, the light's direction and the materials, for interiors or facades.
-
04
Render
Get the image at up to 4K, ready for the presentation.
Why start from an image
-
Any software
Revit, Archicad, Rhino, 3ds Max, Blender: if it shows the view, it works. No model export, no file conversion.
-
No render prep
Documentation models often have plain materials. You set the finishes in the material notes and with products from your library.
-
Geometry preserved
StudioIA follows the view's edges, so the render shows the project you modeled.
Revit and Archicad questions
Do I need to upload the .rvt or .pln file?
No. StudioIA only receives the image of the view, as PNG or JPEG. Your project file stays with you.
Which visual style should the view use?
A shaded or realistic view gives StudioIA more information about materials than a lines-only view. Hide dimensions, tags and section marks, which aren't part of the scene.
Does it work with other software?
Yes. Any software that shows a 3D view works, like Rhino, 3ds Max, Blender or Vectorworks. For SketchUp, see SketchUp AI rendering.