SketchUp rendering with AI.
Take a screenshot of your SketchUp view and get a photoreal image, with the furniture and finishes you specified, without setting up materials, lights and a render engine.
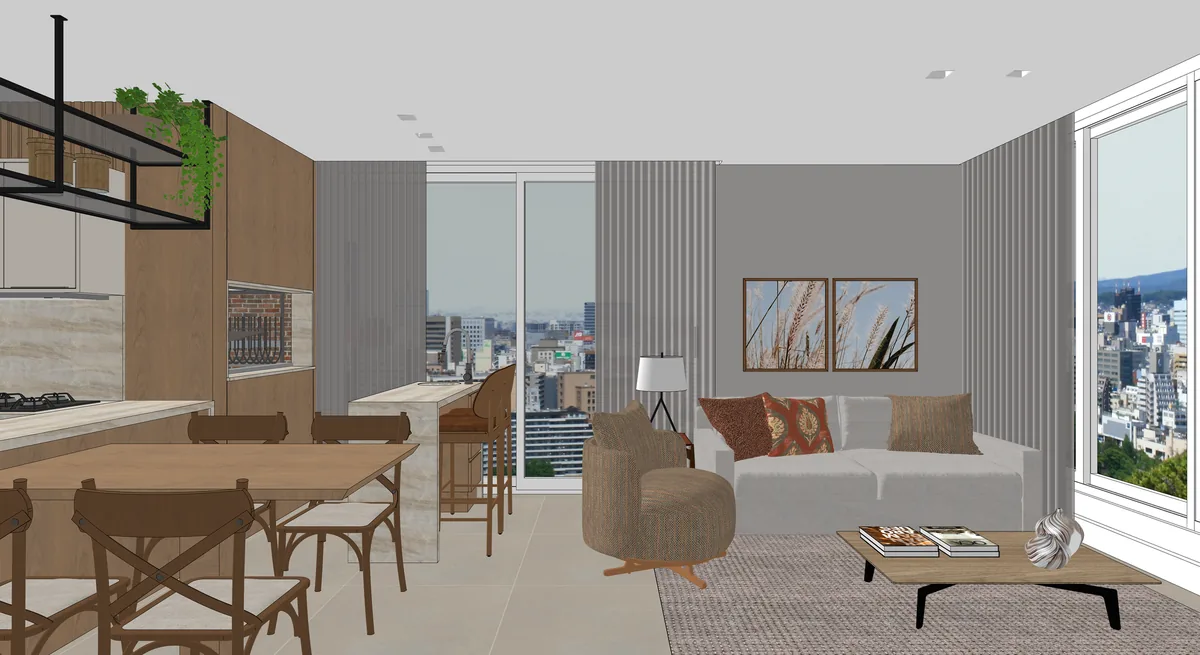 Model
Model
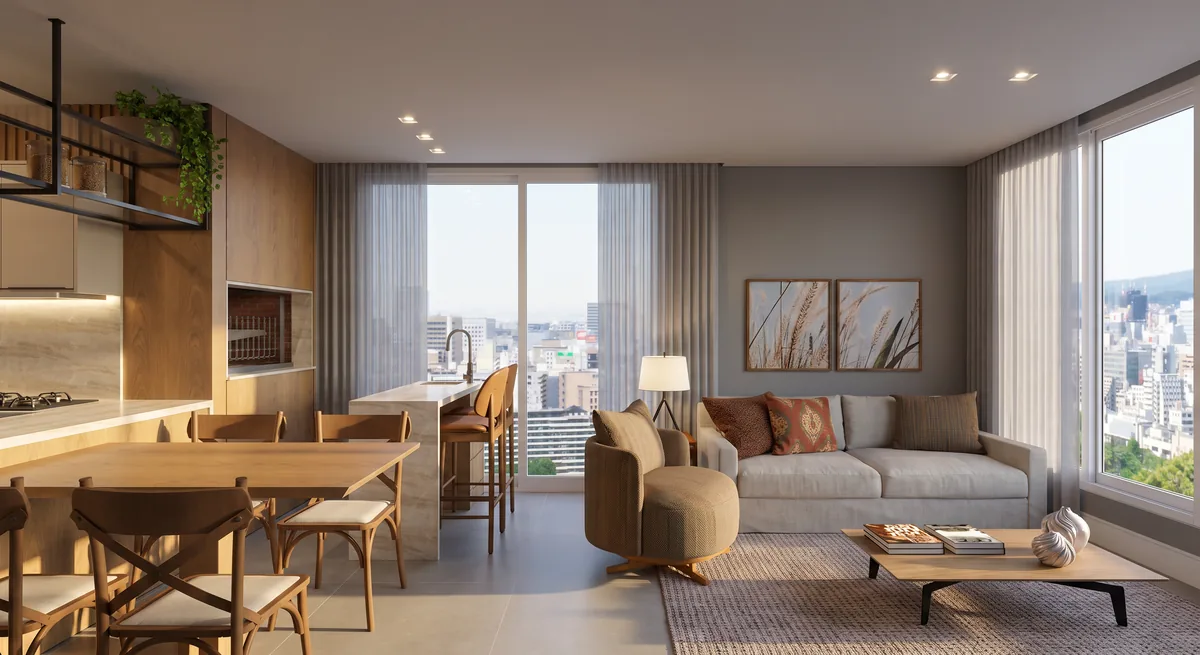 Render
- Output
- Up to 4K
- Perspective
- True to your screenshot
- Folders
- Organized by project
From SketchUp to photograph
-
01
Export the view
Frame the scene in SketchUp and take a screenshot, or export the view as a 2D graphic. PNG or JPEG, up to 50 MB.
-
02
Mark the products
Paint regions of the screenshot and assign each a real product from your library, with a reference photo.
-
03
Choose the light
Interior or exterior scene, lighting preset, light direction and material notes.
-
04
Render
Get the image at up to 4K and download it as PNG.
Why use it with SketchUp
-
No render engine
No materials, maps and lights to set up in V-Ray or Enscape: the screenshot is enough.
-
Your project, not a lookalike
StudioIA follows the screenshot's edges, so walls, openings and furniture stay where you modeled them.
-
Every view consistent
Set a render as the style anchor and the project's other views follow the same materials and light.
SketchUp questions
Do I need a plugin?
No. StudioIA works from an image of the view, so a screenshot or SketchUp's own 2D export is all it needs.
Which style should the screenshot use?
A textured style shows StudioIA the materials you chose. Hide axes, dimensions and text, which aren't part of the scene.
Does it replace V-Ray or Enscape?
For presentation images made from a view, it saves you setting up materials and lights. For animations, virtual tours or physically based lighting control, a render engine is still the right tool.